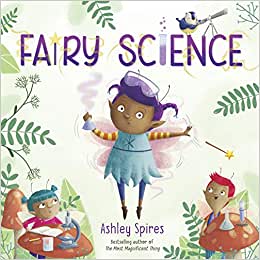
Fairy Science
By: Ashley Spires
Publisher: New York : Crown Books for Young Readers, [2019]
Budding Scientists: ABC's of Applied Physics for Kids

Click here to go back to Discover Science!
| New! Let There Be Light! | It’s Time to Learn about Time |
ABC's of Applied Physics for Kids: Let There Be Light!
Suitable for 4 to 6 years old children
Light is made up of waves. These waves travel from light sources, bounce off objects and come to our eyes, allowing us to see things. Light sources come in many forms. Lamp posts help light up streets. Stadium lights help us watch a late sports match. Computer monitors and television screens emit light to display images. Light can also come from flames, not just electricity, like from the bonfire during camping. And of course, the biggest main source of light for us: the Sun!
LET’S LEARN!
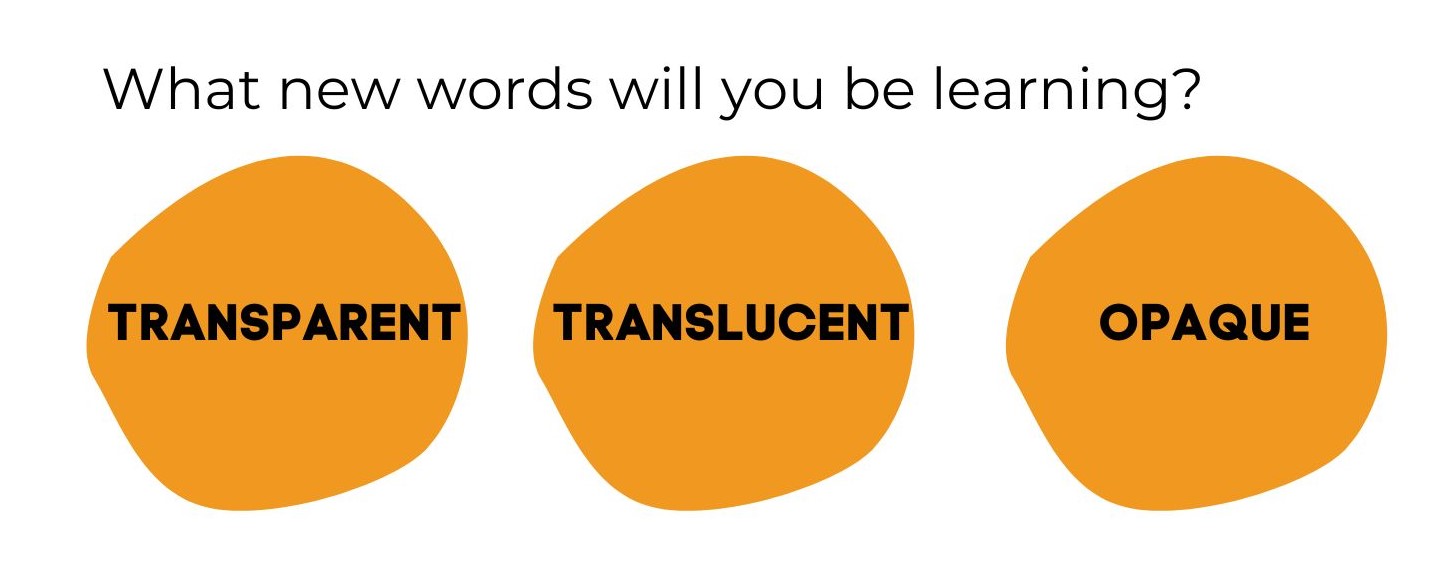
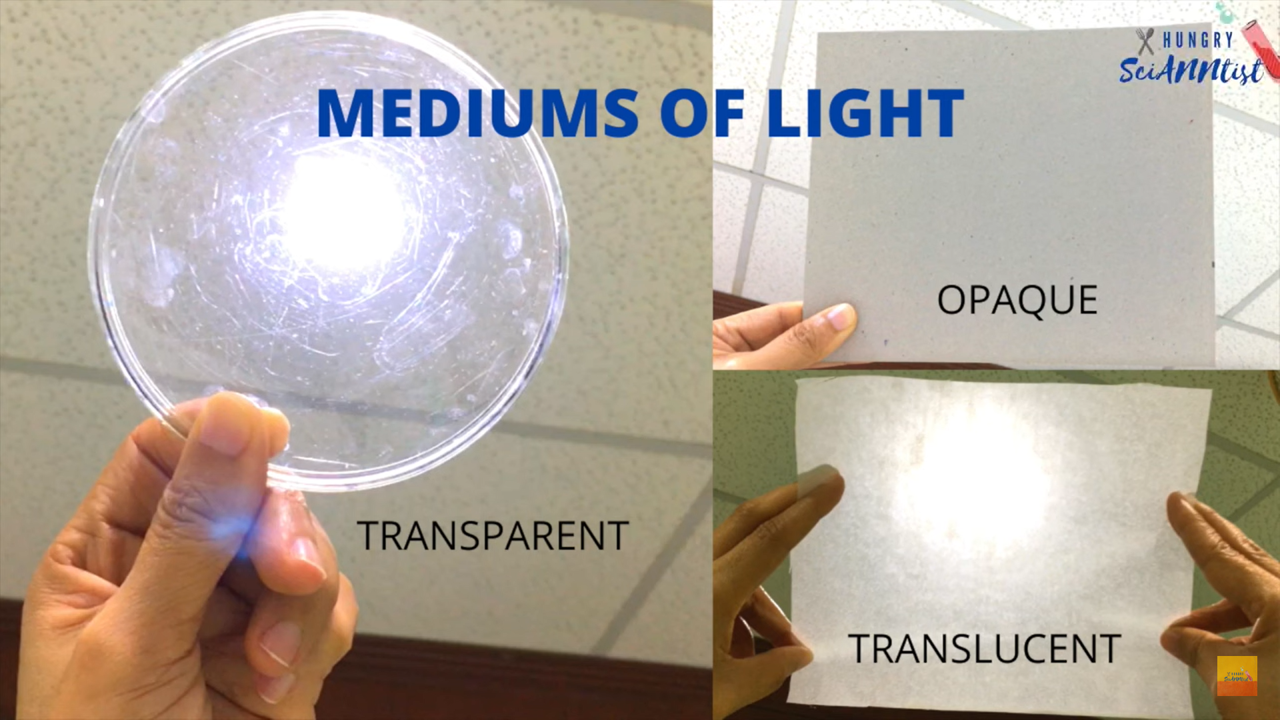
The terms “transparent”, “translucent” and “opaque” are used to describe the extent to which certain objects allow light passes through objects. Transparent objects allow light to pass through completely; you can see intricate details such as colours through transparent objects. The term “translucent” indicates that light can flow through partially, where distinctive features are not as visible through such objects. Finally, opaque objects do not allow any light to pass through them. You can refer to the image below to see the difference.
LET’S SING!
The LIGHT SONG | Science for Kids | Grades K-2 (0:59)
With catchy tunes, your child will learn about transparent, translucent, and opaque objects, as well as different types of light sources.
After this, you may then watch the video on differences between Transparent, Translucent, Opaque. In this introductory video, your child will learn about the differences between transparent, translucent, and opaque objects.
LET'S WATCH!
MEDIUMS OF LIGHT
Differences Between Transparent, Translucent, Opaque | Light Experiment for Kids (3 min 09 secs)
In this introductory video, your child will learn about the differences between transparent, translucent, and opaque objects.
LET'S INVESTIGATE!
Experiment time!
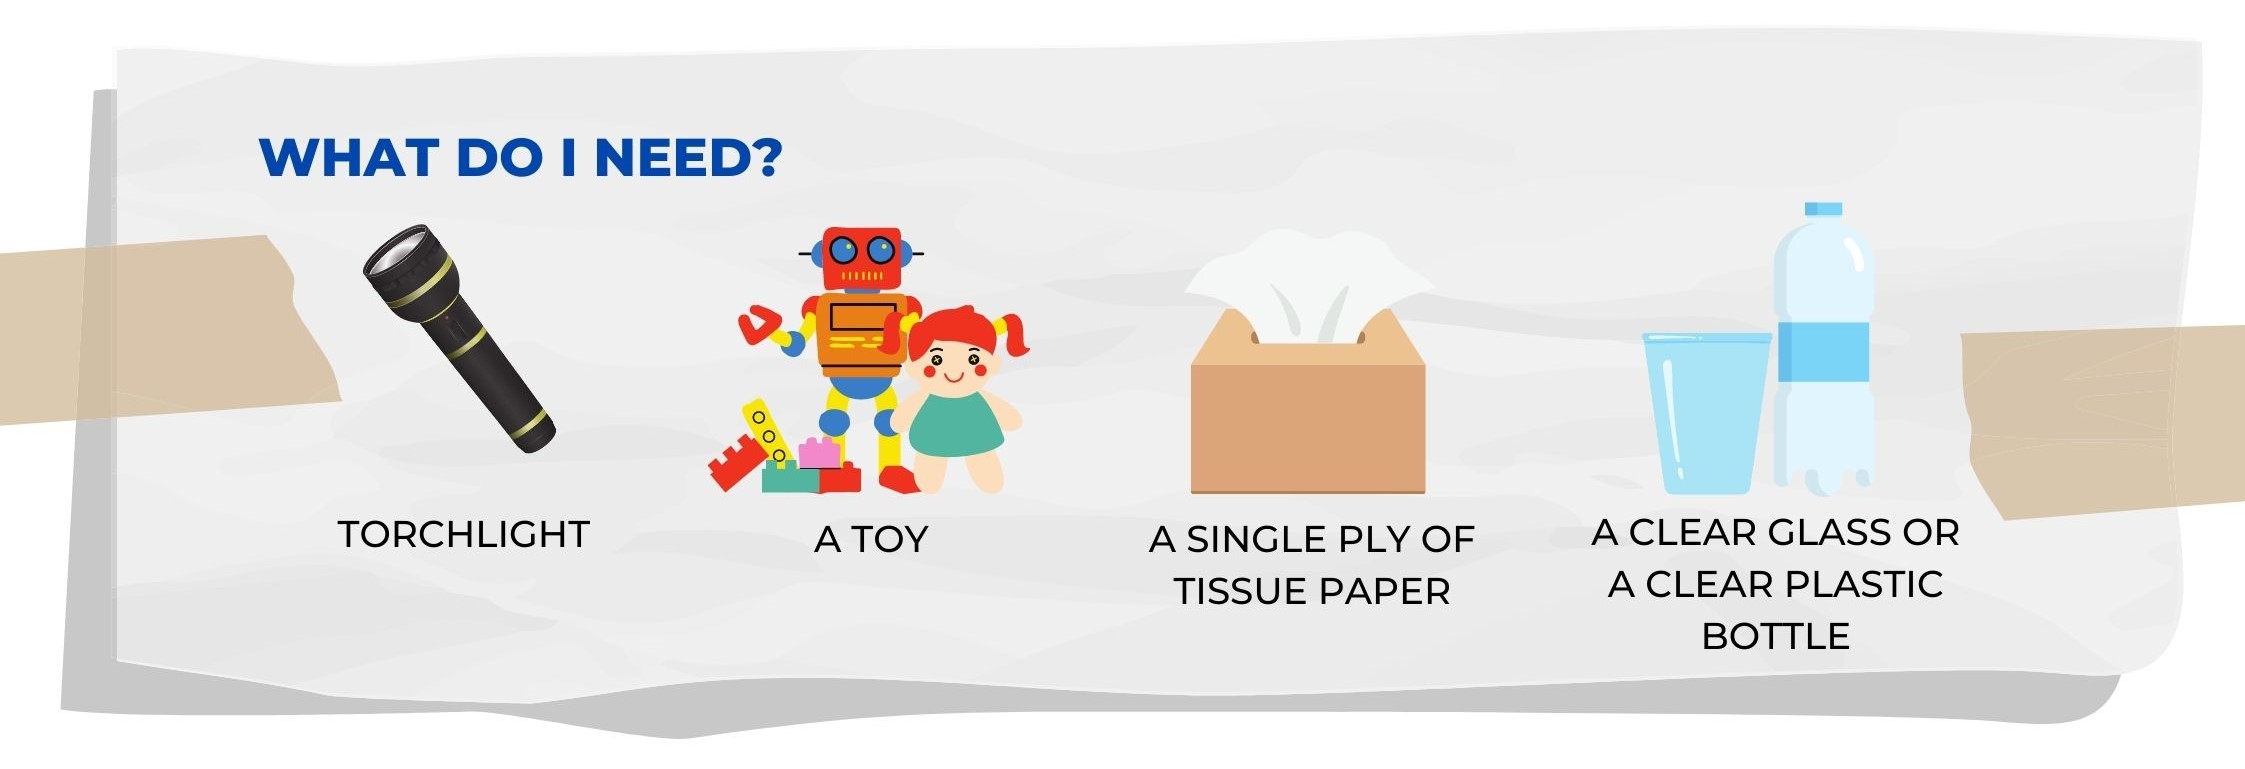
Let’s conduct an experiment using a torchlight to see whether light can shine through the materials. Print out the worksheet and complete the experiment.
Materials required:
Click here to get your printable experiment worksheet!
Steps
-
With this worksheet, read through the questions together with your child.
-
Use a torchlight and shine the light through each object.
-
Circle the right answers.
Tips for Parents:
By allowing your child to engage in prediction and observation, you are also introducing them to mathematical concepts of classification and characteristics, on top of learning about physical sciences. Model behaviour by allowing your child to say what they have observed and introduce STEAM vocabulary in your discussion!
LET’S TRY THIS AT HOME!
DIY Shadow Puppet
Materials required:
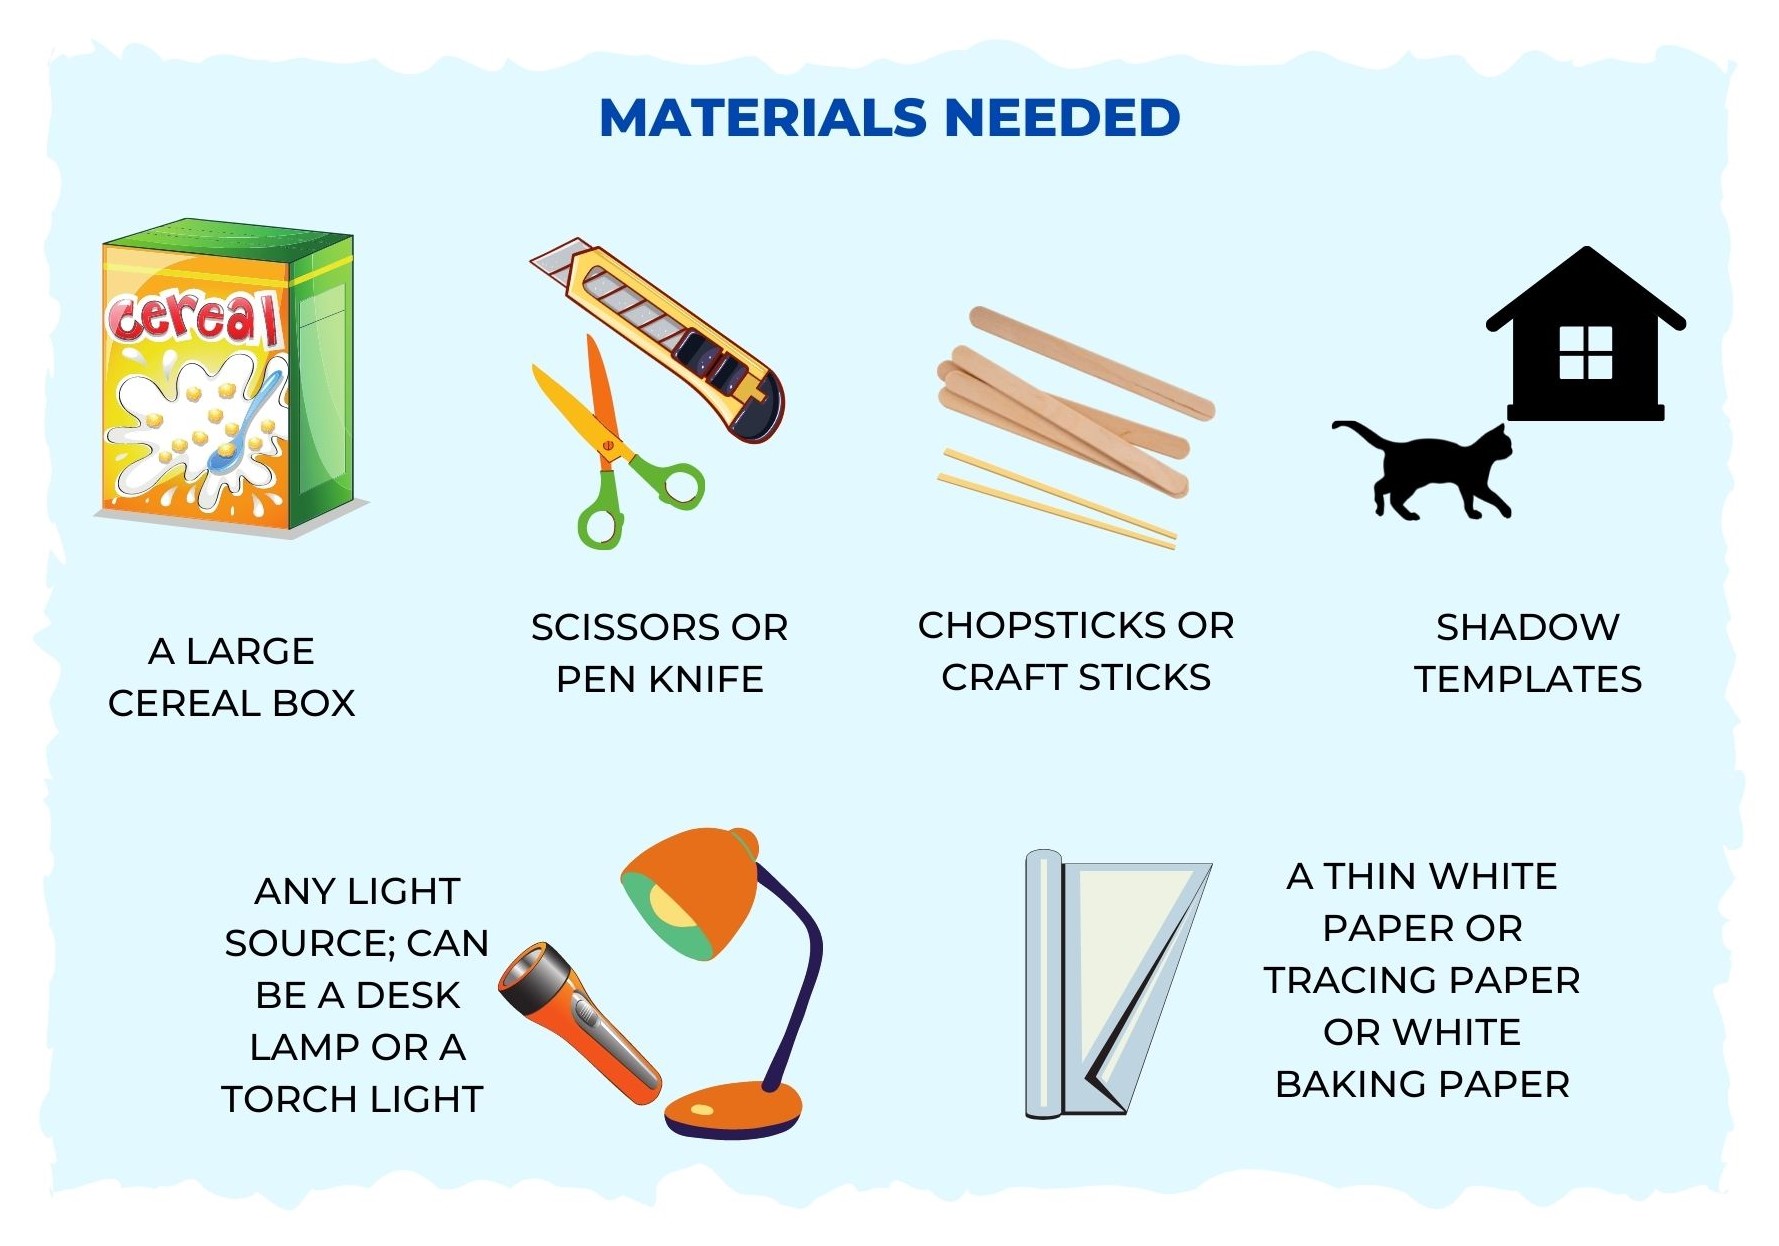
You can print your shadow template here.
Oh, and you need some imagination to create your own stories with shadows.</p>
Instructions for Shadow Puppet Theatre
1. Tape the box up well so that it will be sturdy and closed.
2. Then, trace about 2cm away from the edges of the large faces of the box. Draw large rectangles on both sides of the box. These will serve as the ‘frame’ of your shadow theatre.
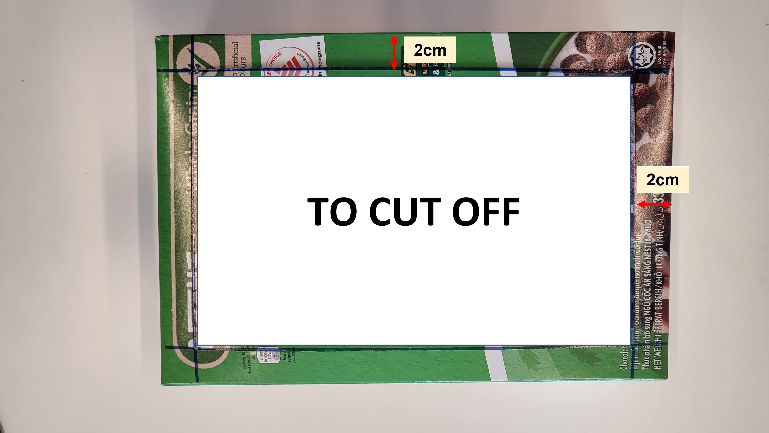
3. Next, cut out the large rectangles that you just drew. Wait! Do not throw away the large rectangles. You can reuse them to make the shadow puppets. 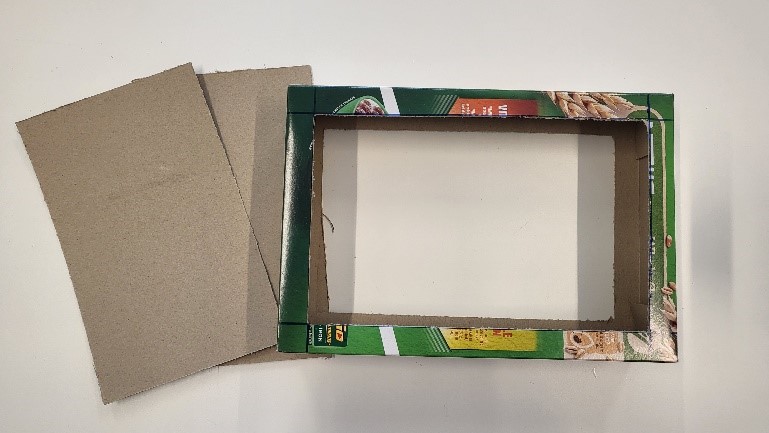
4. Find a sheet of translucent white or light-coloured paper. Tracing paper or baking paper, work well too.
5. Tape the paper over the cut-out hole on one side of the box only. That side with the paper will be the one that faces your audience. The other side is where the torch light or the desk lamp will be shining from. 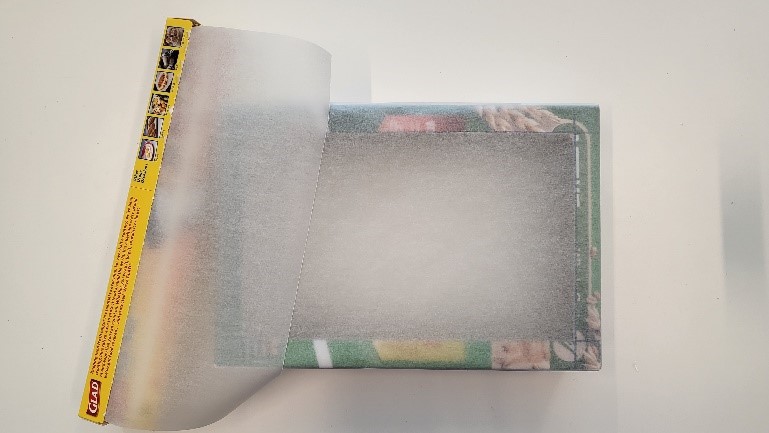
6. Your “stage” is complete! You’re on your way to becoming a puppet master! Let’s make some puppets so that you can work your magic and create your story! 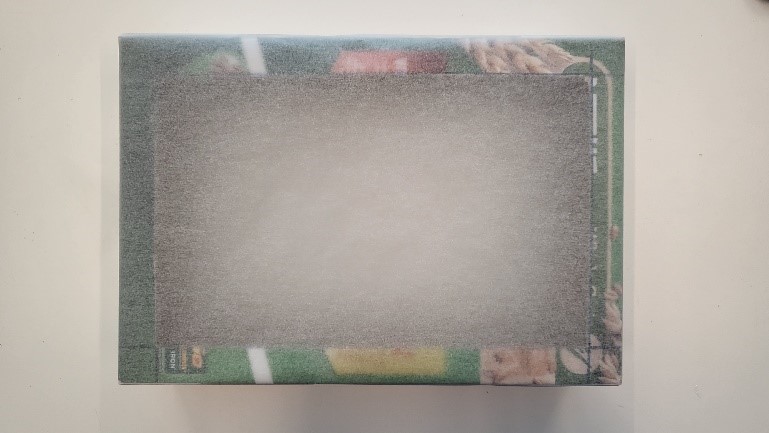
Instructions for Shadow Puppet
Instructions for Shadow Puppet
-
Cut the shapes out of the template provided and paste them onto the rectangular cut-outs you saved earlier.
-
Cut the cardboard according to the shapes of the templates. You may stick the printed templates onto the cardboard first, with glue or tape, so that it is easier to cut out the shapes.
-
Tape either craft sticks, or chopsticks to the back of the cardboards.
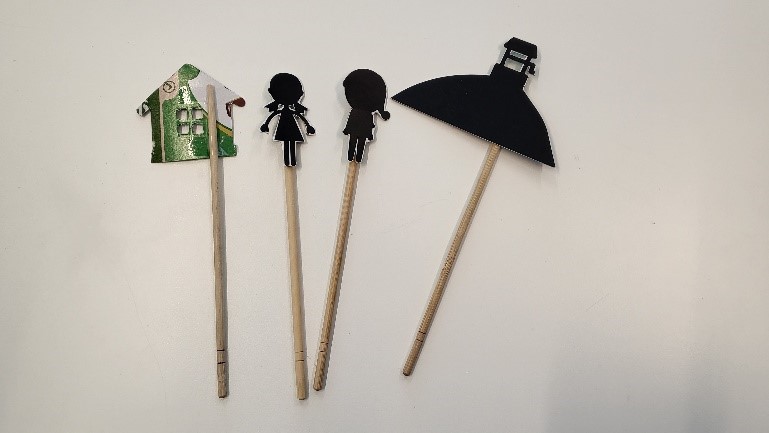
Now you've made your puppet theatre and your puppets. All you need now is to darken the room, use a lamp or a torchlight, and invite an audience to watch your brilliant performances!
Tips for parents
Ask your child what will happen to the shadows if the distance between the light source and the shadow puppets increases or decreases. Will the shadows be bigger or smaller?
Try it!
Let’s watch this video and find out more about light and shadows!
WHAT MAKES A SHADOW?
Light and Shadows for Kids | Science Video for Kids | Kids Academy (4 min 59 secs)
In this introductory video, your child will learn about shadows. Shadows require an object and light source for its appearance. A shadow occurs when the light is stopped by an object. The shadows are likely to change its size depending on its position next to the light source.
LET'S READ!
The copyright to all book covers belong to the relevant publishers or illustrators.
ABC's of Applied Physics for Kids:
It's Time to Learn about Time!
Suitable for 4 to 6 years old
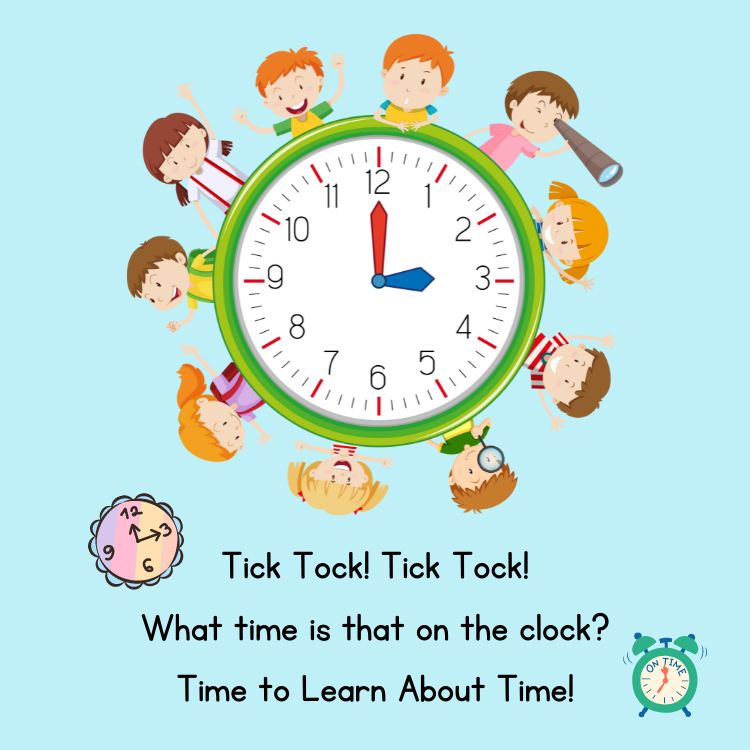
Time is an interesting phenomenon. It is untouchable, invisible and yet it is always around us. Let’s have some fun learning about the concept of time and routine with the use of clocks!
LET'S SING!
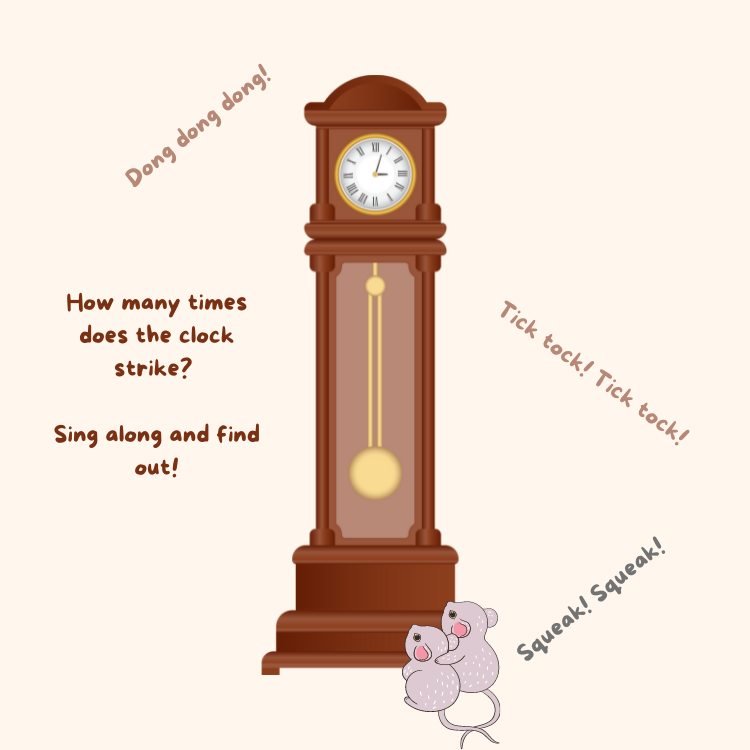
Tuning-in Song: Hickory Dickory Dock
A tuning-in song is a simple, yet important component to include when introducing children to new concepts, especially abstract ones. It acts like a fun hook and energises them for the actual learning activity later.

Tips for Parents:
The repetitive nature of the song helps with pattern recognition and rhythm synchronisation. Children can understand and expect the changes in the structure of the song, which develops their mathematical awareness. Encourage your child to clap along with the striking of the clock. E.g. clap once when the clock strikes One, twice when the clock strikes Two etc.
LET'S READ!
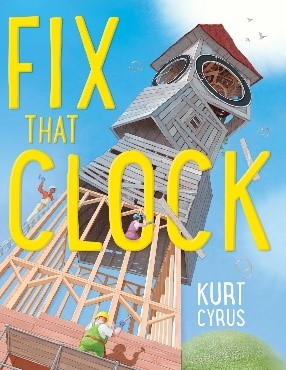
Fix that Clock!
Author: Kurt Cyrus
Publisher: Boston ; New York : Houghton Mifflin Harcourt, 2019
Tips for Parents:
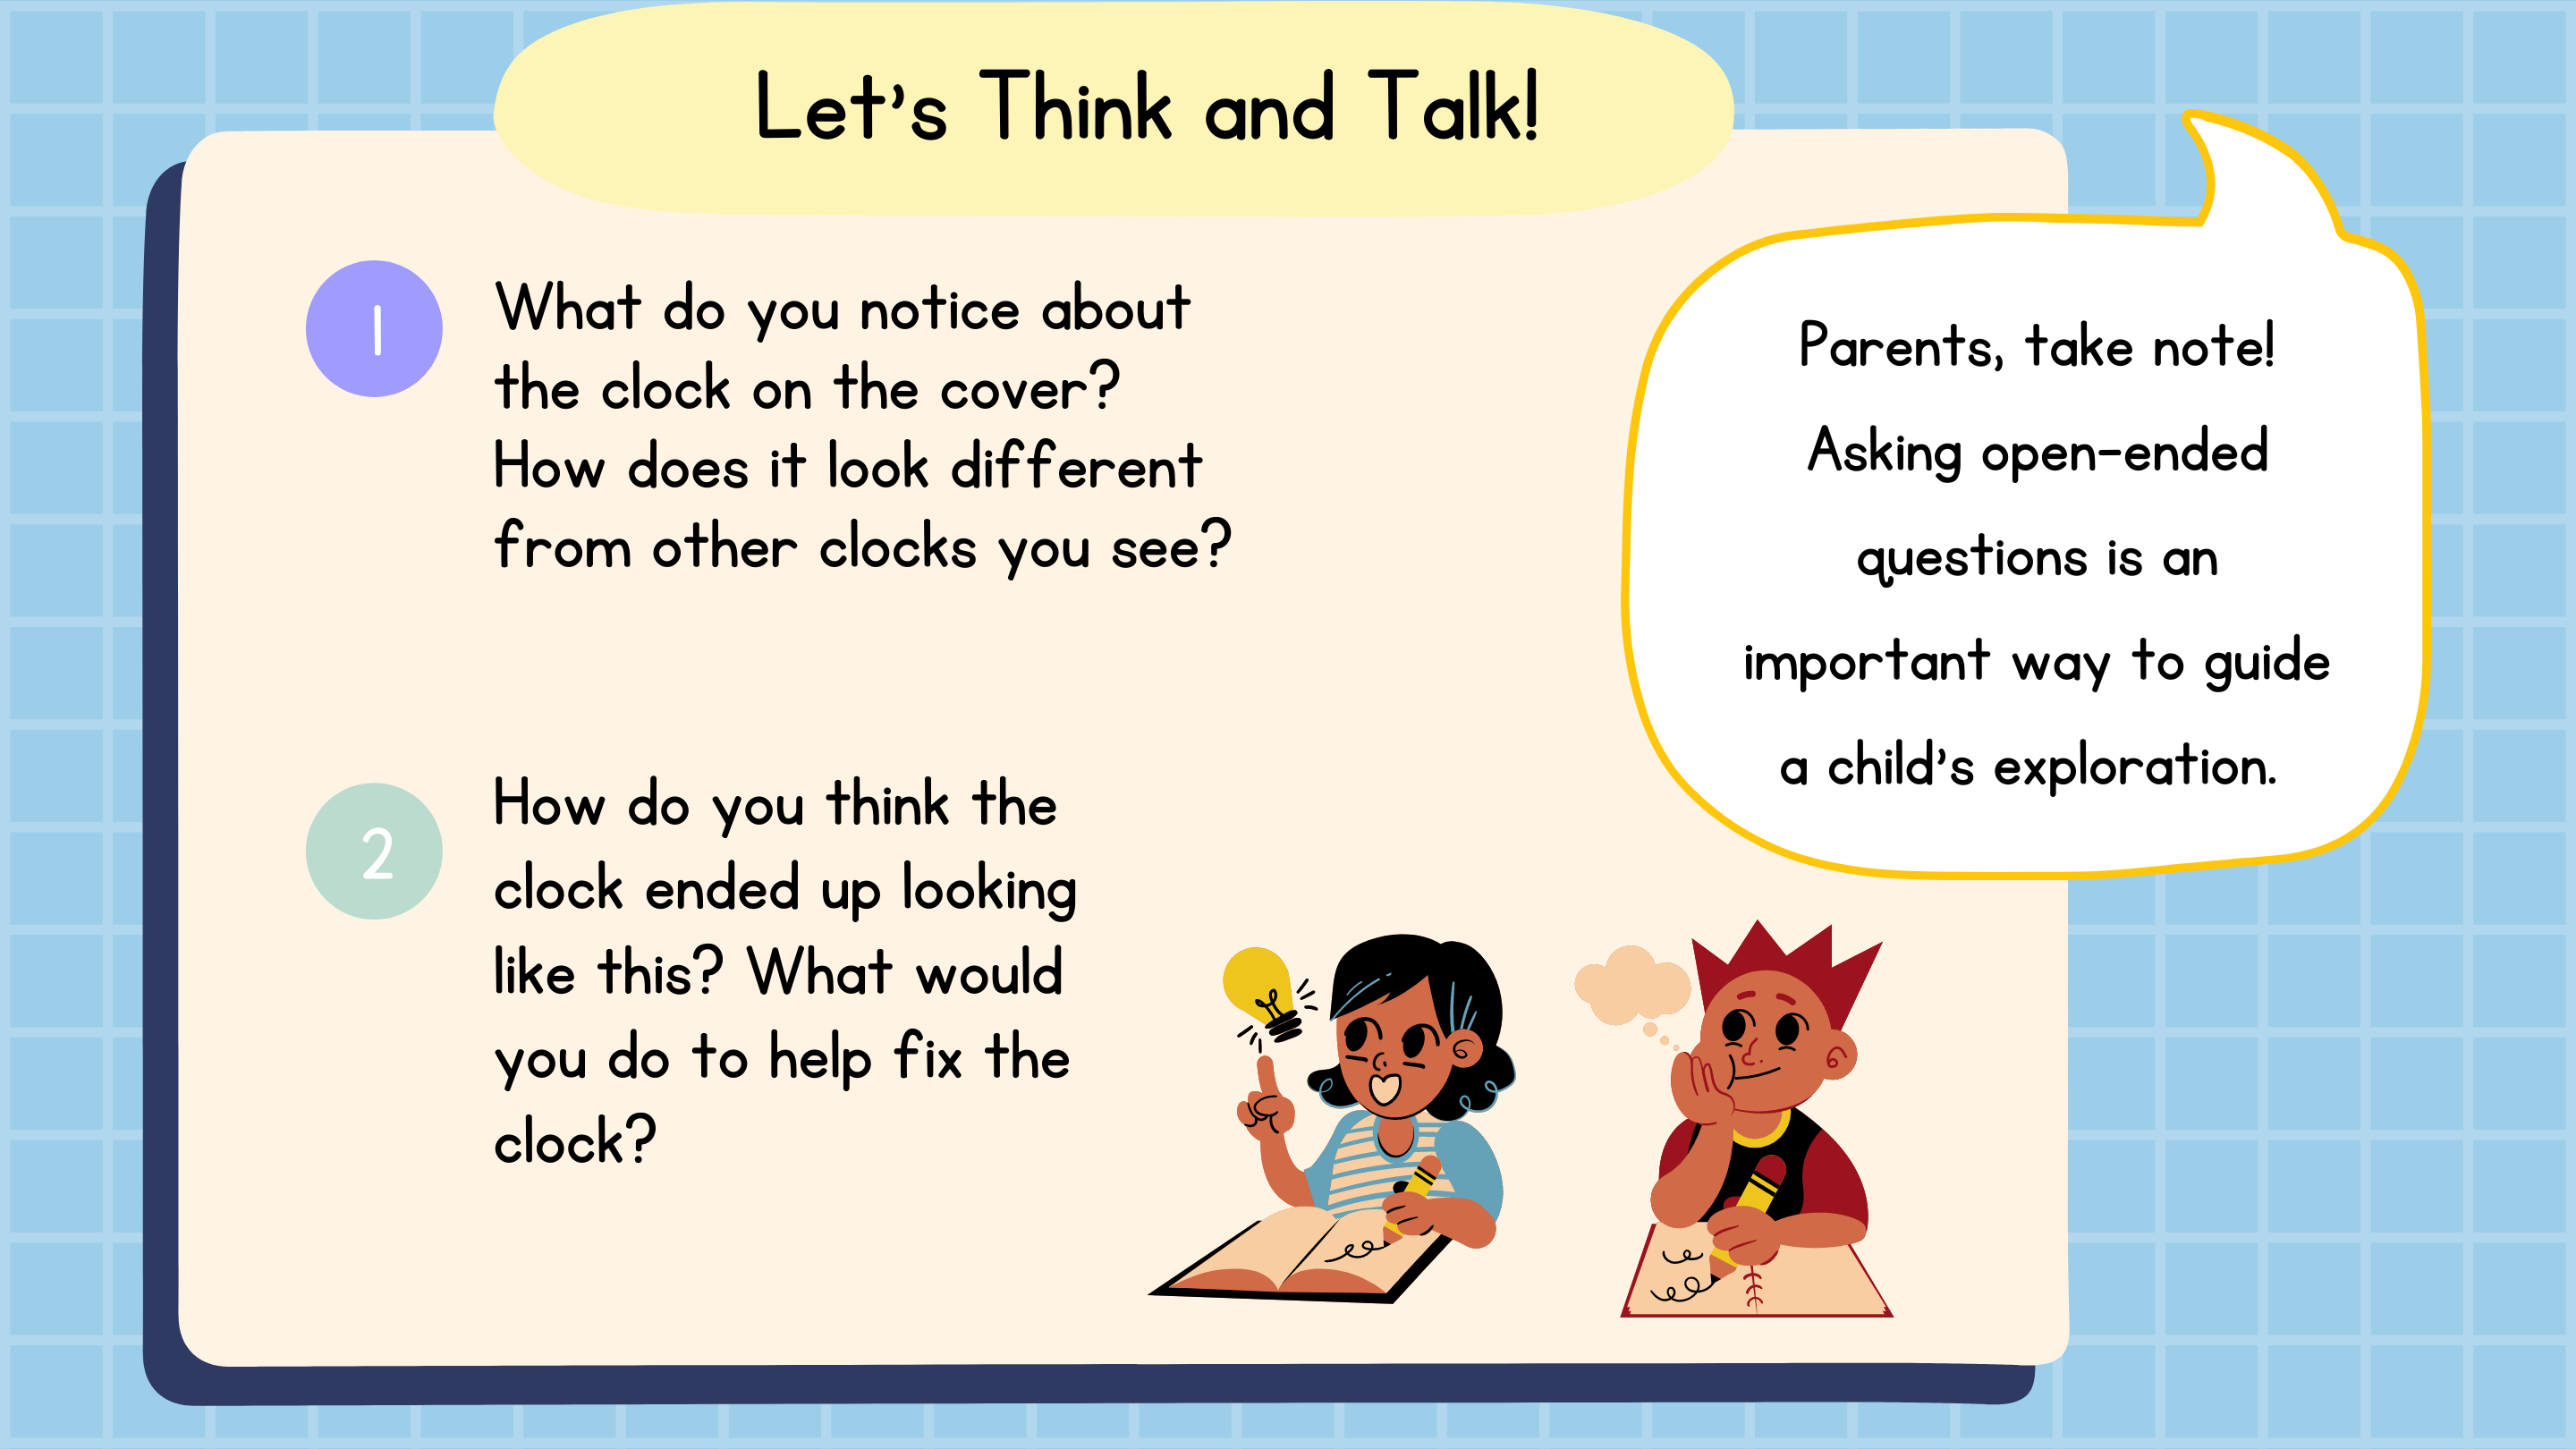
Asking open-ended questions during storytelling is an important and engaging way to guide a child’s exploration, critical and creative thinking through reading.
LET'S CRAFT!
Crafting your own Clock!
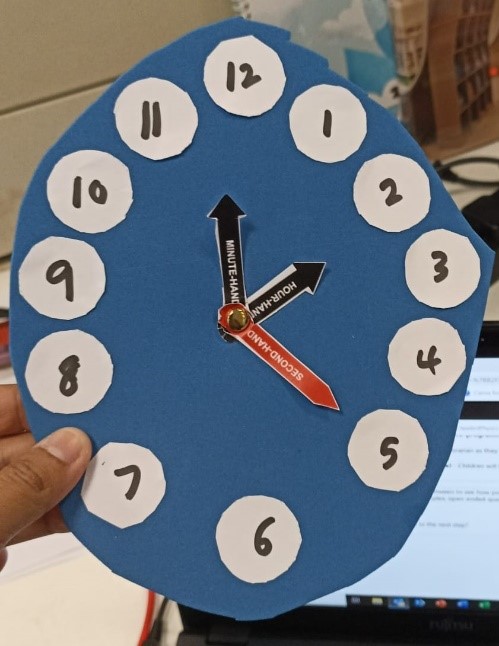
Children can try making their own clock so that they can get familiar with the different parts of the clock and their functions. In time, they can learn about the values of seconds, minutes, and hours as well as other instruments that tell time.
This crafting activity is simple and requires materials that can be found around the house. Download and print the template below to help you!
Template for Clock Crafting Activity
Instructions
1. Cut out a circle from felt board or drawing block, roughly 15cm in diameter for the clock face.
2. Cut out the circles and clock hands from the template prepared.
3. Write down the numbers "1" to "12" on each of the circles. Have your child count along as you do this.
4. Using a paper fastener, fasten all three of the clock hands to the face and ta-da! You have your very own wonderful time teller!
LET'S INVESTIGATE!
Learning with your Handmade Clock
We just made a very wonderful Time Teller! Time for us to use it to teach our children a few key concepts about time.
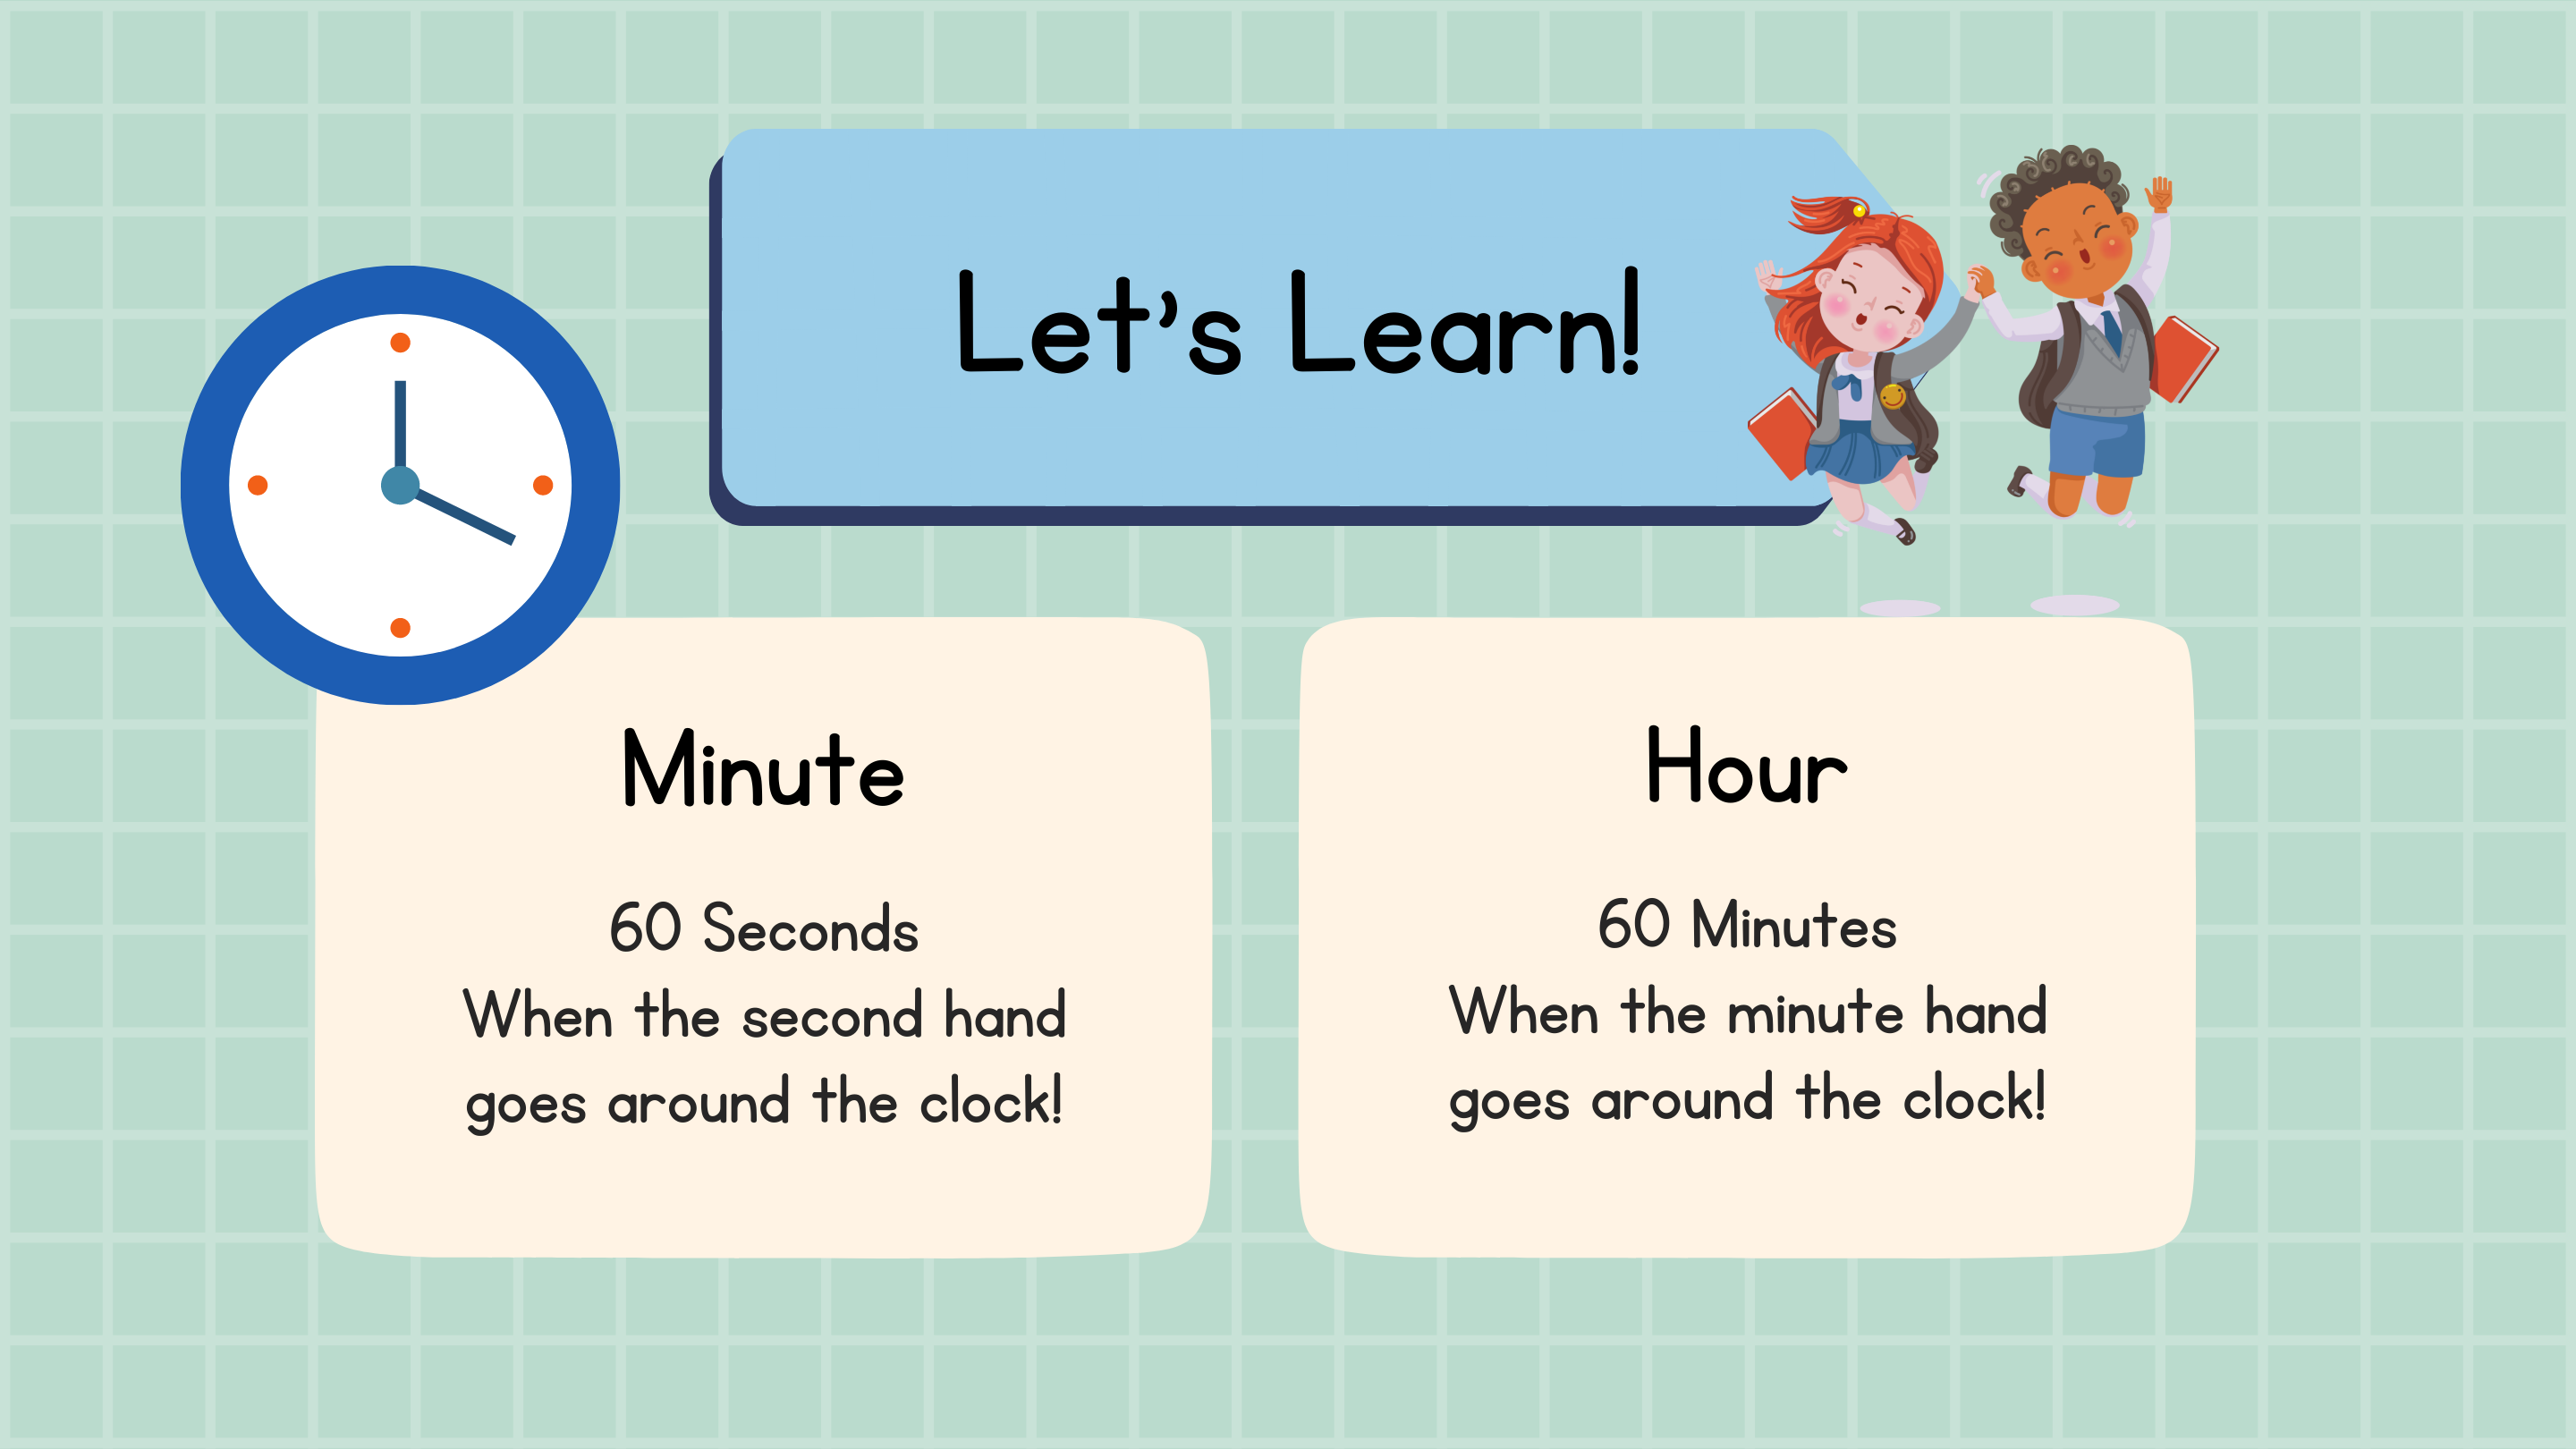
Download the printable below and paste it up somewhere to help your child remember the values of hours and minutes.
Learning With Your Handmade Clock
LET'S PLAY!
Play is a great way to get children excited about learning and discovering new concepts.
Download and print out the resources below for activities that you can do with your child to help them learn the wonders of routines.
The first activity will teach your child the different times of the day; i.e. morning, afternoon, evening and night as well as the activities we should be doing during these times. Print these out and play a fun matching game with them!
The second activity will expose your child to the wonderful world of time tellers. Aside from our humble clock, there are so many other key instruments that measure and record time. Can your child name all of the ones in this printable activity?
Do you know that Sundials were one of the first time-telling devices invented? See if your child can guess what the sundial uses to tell time!

LET'S TRY THESE AT HOME!
With a little bit of creativity and using objects around you, you can create simple yet fun activities for your child to supplement their reading.
How about giving the two activities below a try? They will give your child a little peek into history on how people told time before clocks as well as understand the difference between Analog and Digital clocks.
Activity 1: How Did People Tell Time Before Clocks?

1. At around 9-10am, ask your child if they can see the sun from the window. Ask them to describe the sun; e.g. does it look further away or closer or does it feel hotter?
2. Have them write down or draw their observations. They can fill up the table appended below.
3. Repeat this activity at 12-1pm and again, at 5-6pm. Ask them if they notice any difference in the sun's position in their observations.
4. Explain to your child that before clocks were invented, this was one of the earliest ways people told time; by looking at the position of the sun in relation to where they lived.
5. Have your child think more deeply by asking them how people told time during rainy or cloudy weather.
Note: Do remind your child to take breaks as prolonged staring at the sun may damage their eyes.
Activity 2: Analog vs Digital

In this modern world, clocks come in all different shapes, sizes, and forms. Analog clocks may still be around, but we start seeing digital clocks crop up more and more. This simple game will help your child be more exposed to the different timepieces.
1. On a deck of flash cards or strips of leftover paper, write down the time as your child would see on an analog clock; e.g. 5pm.
2. On another set of cards or strips, write down the same timing in digital format; e.g. 1700.
3. Explain to your child that these are the same timings but in different formats.
4. Once they become more confident, start writing down timings in analog format and have them rewrite the timings in digital formats. Take turns being Analog and being Digital.
Tips for Parents:
Observing their environment and identifying differences is an easy way to get children thinking in a more scientific manner. Guide them along with probing questions: why do they think that way and how did they come to that conclusion? As time is abstract, do not feel discouraged if your child takes a while to understand. With consistent encouragement, they will eventually get the hang of it.
LET'S WATCH!
Unwind with your child with these helpful videos in understanding horology, the study of time, a little better. Horology itself is a word that you can teach your children!
How to Tell the Time – Educational Video for Kids (3 min 3 secs)
In this 3-minute video, learn more about the different parts of clocks and their many functions!
Concept of Time (7 min 26 secs)
Take it a step further and introduce your child to the concepts of AM and PM, as well as how certain things can take less time or more time.
LET'S READ MORE!
Telling the Time
Author: Rosie Hore and Shaw Nielsen (Illustrator)
Publisher: London : Usborne, 2016
Time
Author: Julie Murray
Publisher: Minneapolis, Minnesota : Abdo Kids Junior is an imprint of Abdo Kids, [2020]
All book covers are copyright of the respective publishing companies.


